
 | A machine gets you only part of the way with earth works - the next step was to finish things off by hand... The challenges of trying to make a bed completely level was also a very useful lesson to learn! |
An excavator is a pretty crude tool, so there was quite a lot of work to do by hand to get the sunken beds and surrounding berms into the size and shape that I had designed for us. The pictures below show the process...
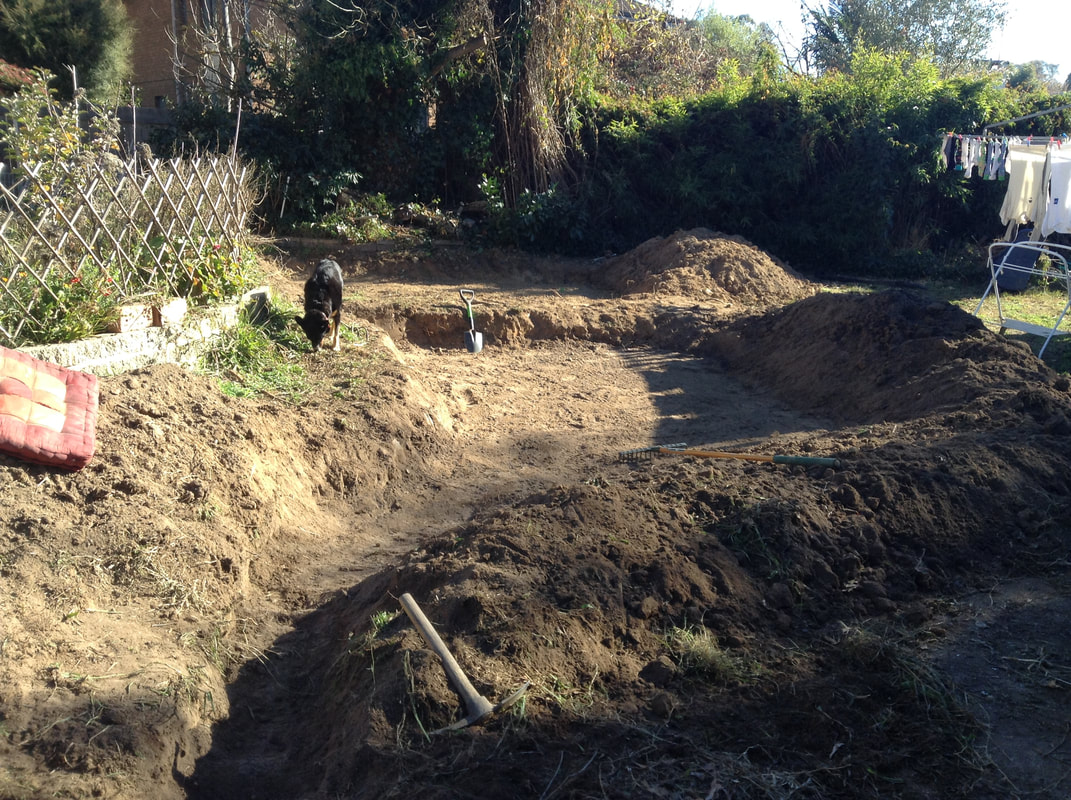
Step one was to level out the bottom of the sunken bed (the idea is for water to pool evenly along the base to ensure even watering) and level the surrounding berms so they are approximately the same height all around.
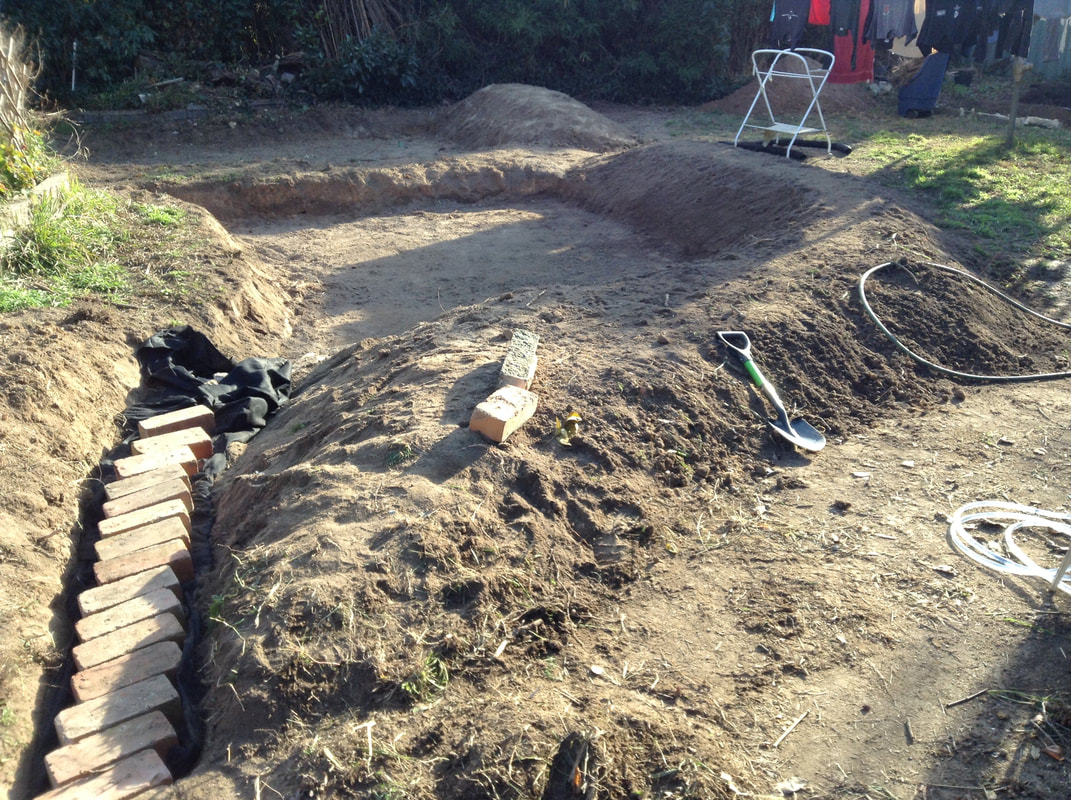
Another important task is to ensure the berms are stabilised, with a good amount of stamping on them or whacking with a spade. This makes them less likely to collapse when it next rains. Aim to plant in them as soon as possible as the roots will also hold the soil together. The bricks on the left hand side are covering a diversion drain which will capture rain water from the driveway (very front of picture) and direct it into the sunken bed, which is at a slightly lower level. I describe making this drain in a separate post.
Step 2 (not pictured) is to put the top soil back over the berms, quite a tricky task, as you don't want it to fall off the berms! Once we'd moved a fair bit of the top soil back over the berms I could work on making the base of the sunken bed as level as possible...
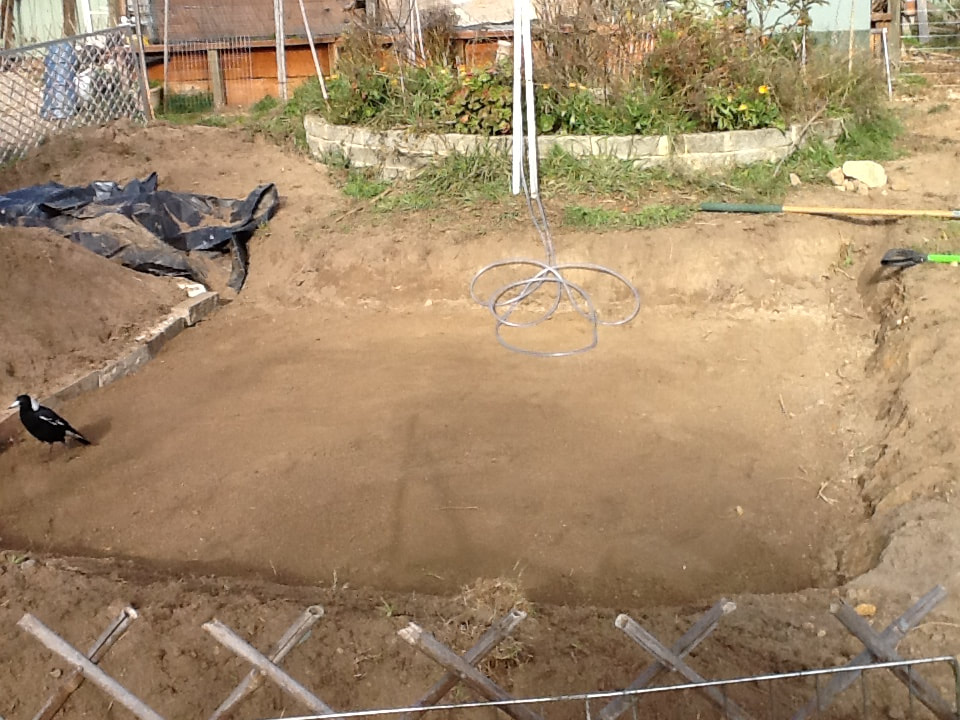
My best effort at levelling the garden bed with a rake and the bunyip level. A local magpie comes to survey our handiwork!
 Using the back of the rake makes for a smoother surface. | 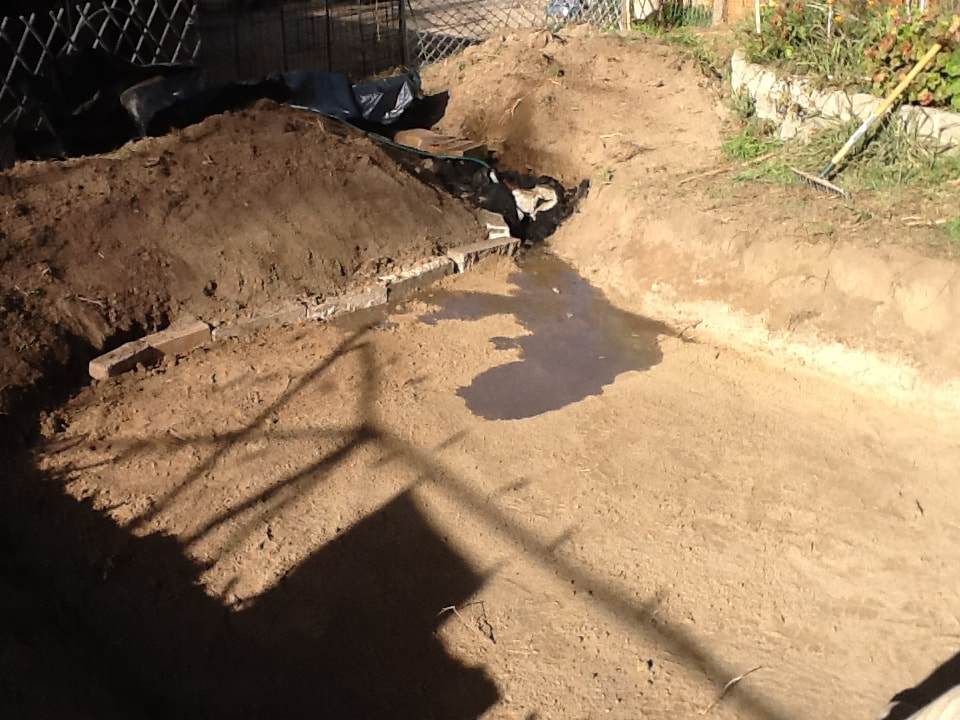 Running water in from the drain to see where it goes (and how level it really is...) |
But the best laid plans do go awry! Unfortunately, no amount of levelling (at least, that I was prepared to do) could counteract the slope in this part of the garden, so after some scratching my head I came up with a workaround which is shown in the pictures below.
At this point I think I should add a caveat and reassurance that what you see below is something much more experimental than I would ever dream of recommending in any of my designs for others! The advantage of doing our own garden is that we can get to try out things that might seem a bit wacky, and test them out. For my design work I am keen to find workable solutions that are tried and tested, and considerably easier to implement, though this of course varies depending on the needs of the particular design job.
Back to the story...

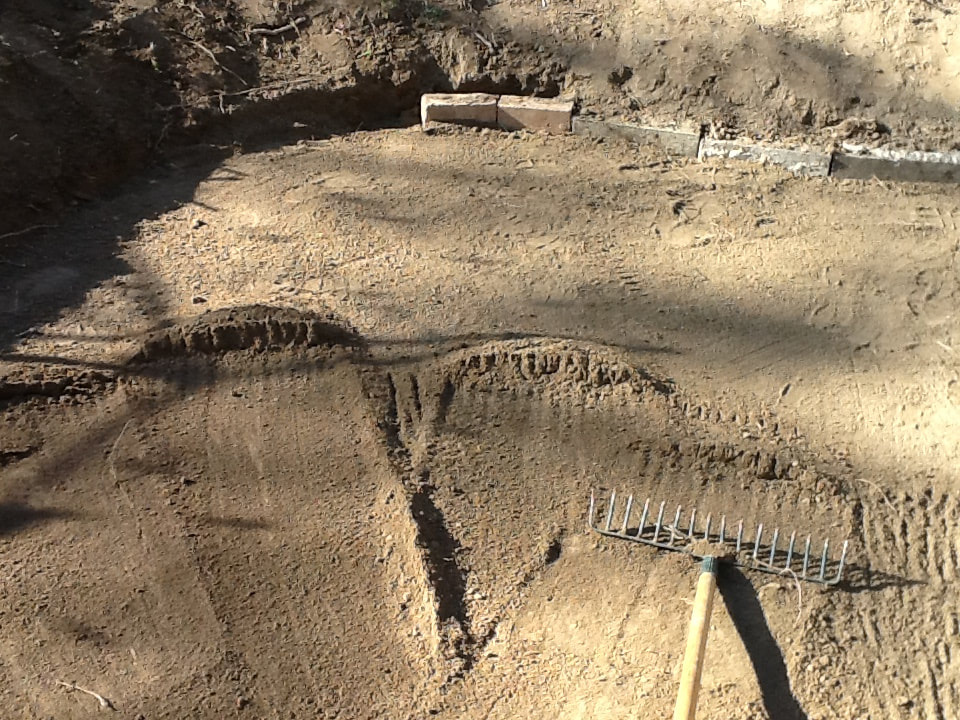
Disaster! It is impossible to completely level an area of 9 m2. This is a very useful lesson. The difference was only a cm or two, but that could mean one side of the bed getting 90 more litres of water than the other in a 10mm rain event... what to do?!?

A slight difference in level would not matter at all if the water was coming in from the highest point in the bed, but unfortunately it isn't in our case. In the picture, the far side of the bed is higher than the near side, due to the slope of the garden. The water entry point is at the bottom left of the picture - the lower side of the bed... My solution was do dig down even further into the clay to make trenches for the water to fill up first, before covering the rest of the bed. This should force the water to the far side (I dug the trench deeper there) before it flows over the rest of the bed. I have some socked slotted ag pipe in the first (left most) trench which we filled with scoria to help water travel freely along it first... The other trenches contained sticks and mulch, the rationale being that these will allow better water access than solid clay.
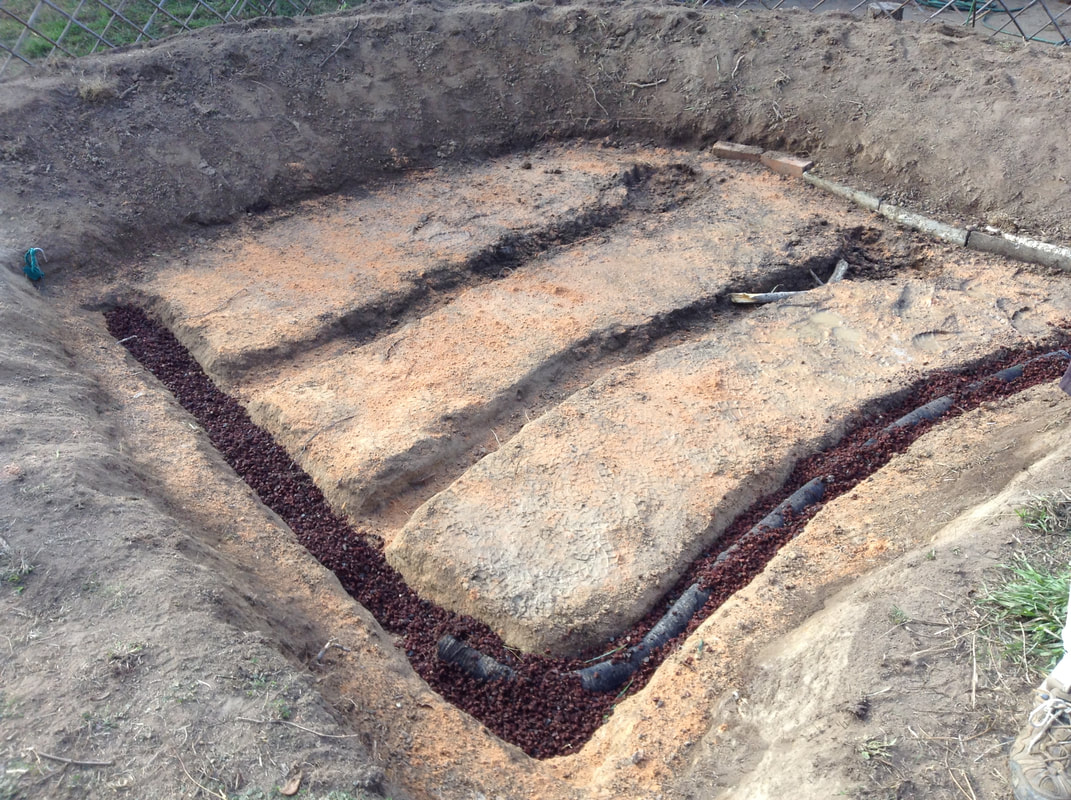
Here's a view of the same bed from the other side. You can see the scoria around the pipe too (scoria is highly porous gravel, great for drainage). The soil above will mostly be organic matter - as this matter fills those trenches, the water should still have better access through this than through the clay. Will it work as intended? I don't know, only time will tell. The worst thing that can happen is that one side of the bed will remain wetter than the other, which isn't the end of the world (we can always adapt our planting to match this if needed). I did say this was all experimental after all!
 Filling the bed with mulch and compost. | 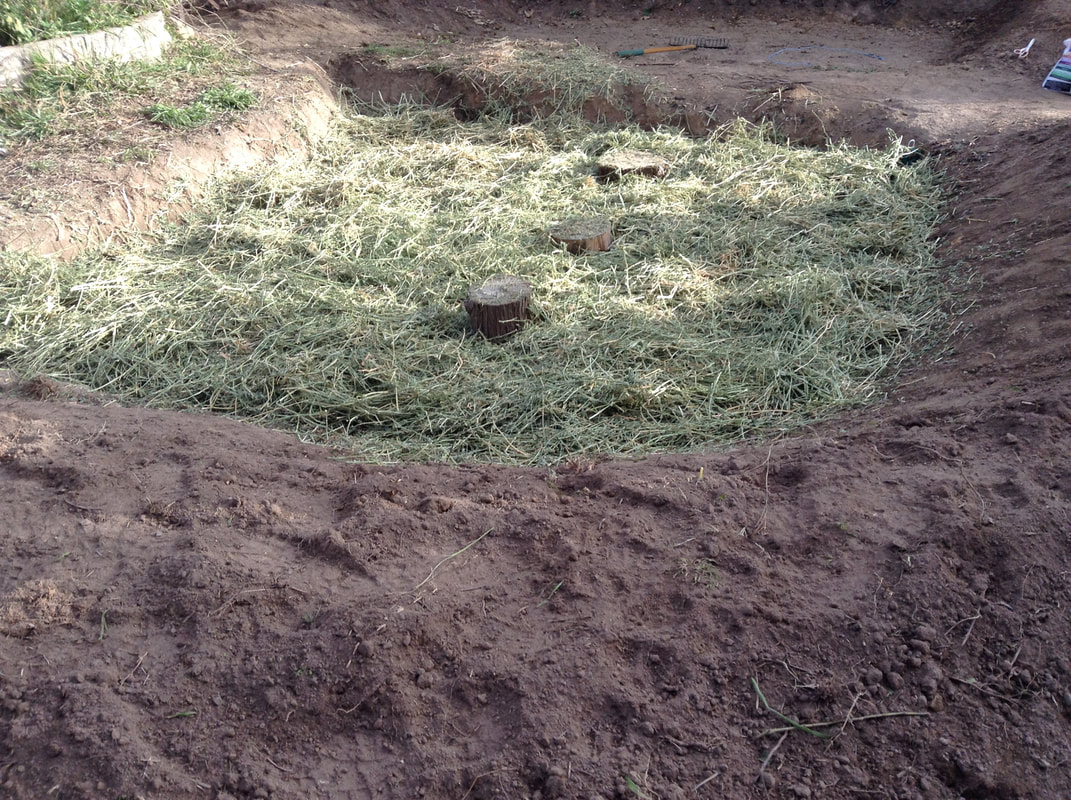 Adding a layer of nutritious lucerne hay. |
| We also added some friable mix from some dismantled wicking beds, the tree rounds are there as stepping stones. And finally, our daughter helps by broadcasting oat and fenugreek seeds as a green manure. Now it's the end of June, it may just be too cold for germination (though I am told fenugreek can germinate in very cold soils). We covered the area with some spare shadecloth to protect from birds and I guess we'll just wait and see if anything comes up! [Update 17/7/2017 - the seeds are up! And they did especially well under the shadecloth - extra insulation at this time of year I guess...] | 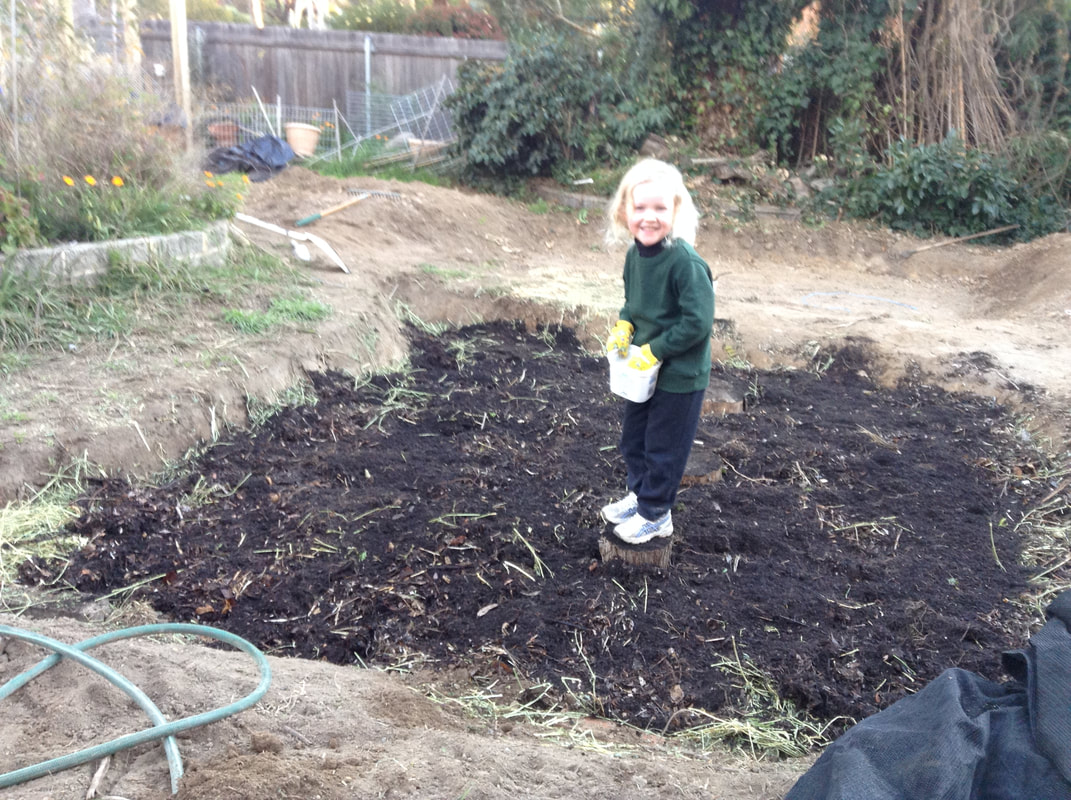 |
One bed done, another one to go. The far bed was actually much simpler as rain water will be entering from the high side anyway, meaning a very slight slope in that bed will be an advantage... For this bed we used compost, mulch and some remaining topsoil. You can see it filled in the picture below. One of our dogs, Kiki, poses for the camera on the path between the beds. You can see the shade cloth on the closer bed protecting the seeds. There is some fencing in the background too - let's just say that two kelpies and earthworks are not a very productive combination, so we're fencing off the whole area until things get established and there's not so much bare soil for the dogs to move around!
The white sticks in the foreground are markers for where some dwarf fruit trees will be planted into the berm, which is a great segue into my next post... planting up the berms!

 RSS Feed